Drawers
 |
| NL = 270mm so SKL (the depth of our drawer) is 260mm |
Cutting drawer joinery with the same size dado set as the groove.
After the grooved sides of the drawer are crosscut to 260mm, they can then be dadoed for joinery.
 blocking is added to adjust for the opening after fillers will be added
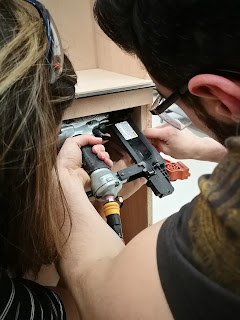
we used 1/2" plywood and nailed it into place
The front and back are then crosscut and rebates to fit into the dado
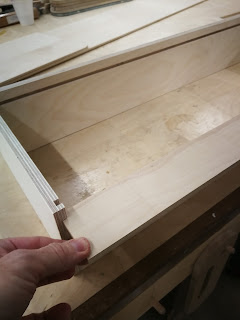
We ripped off bottom of the back at the groove. so the bottom could be slid in after assembly.


Machine the bottom panels to fit in the groove.
Counter sink and Screw in the bottom to eh back to lock the drawer square
 Holes are drilled to receive hardware
Elyse uses a router and copy bit to remove some of the front-side of the drawer for hardware installation. This stop lets the bearing on the router bit know when to stop.
After Marking, piloting and screwing in the drawer glides, the drawer boxes can be placed and adjusted before the drawer fronts are to be made.
The soft close blum hardware is drawergasmic.
 |
| *or subtract rather..... |

Elyse marks the edges of her drawer faces according to the patterns of the veneering. She then rips the drawer faces to the size determined with the spacers.
After they are crosscut, edgebanded and sanded.
The Drill press is best for locating the holes for the handles

Once two pins secure the face of drawer, its time to verify the gaps.
When satisfied, more pins are added and screws to secure the under-mount hardware


Comments
Post a Comment